|
 |
 |
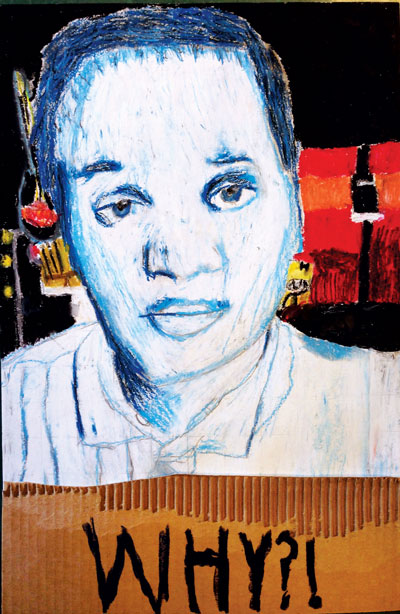
| Top: Fisher, Knitting on a Winter’s Day, 18 x 24" (46 x 61 cm). Middle: Lundy B., Why?!, mixed media. Bottom: Taylor G., I Just Can’t Even. |
That still works. However, there are now apps that will grid images as the photos are taken. These images can be printed out with the grid on them, making the enlarging process on paper, canvas, or alternative surfaces so much easier. I would prefer for the art to be original in concept and for students to learn to draw in the process. Using the grid helps students see the nuances in lines, spaces, and tonal value. There is also a self-gratification factor for students when following the grid, and we all know the empowerment that comes along with that.
Starting with a Grid
Students begin the process by marking a 1" (2.5 cm) grid on a piece of 12 x 18" (30 x 46 cm) drawing paper. I stress the importance of drawing the lines lightly with pencil, in the event that this becomes their permanent piece.
Next, students number the drawn grid and the gridded photo identically across the top and down the sides. They usually start the drawing process at the top of the grid, copying the photo square by square. I created index cards that have a square hole the size of the grid on the photo. These are placed over the photo so that students can focus on the space being drawn. It’s also helpful to place the drawing over the photo and to draw one horizontal row of the grid at a time.medium that they feel would best express their individuality and sense of place. I want them to feel comfortable with the medium they select, but if they choose something they have never explored, that can also be motivating for them.
Sometimes several students will be working with the same medium, so I have them sit together. That makes it easier for me to monitor their progress, and they can also help one another solve any problems that arise.
Prompting Artistic Ideas
One student themed her self-portrait around nature. She brought in actual cuttings from her yard at home that resembled features of her face and hair. When she first brought in her shoebox of natural materials, I had to photograph it. The way she carefully composed the objects in the box suggested she would make wise and deliberate artistic choices when it came to placing the objects onto her portrait. I showed her the work of environmental artist Andy Goldsworthy and she immediately saw a connection.
The student decided that a solid sheet of burlap would be the best background for her portrait given its natural texture. I sprayed a piece of scrap cardboard with adhesive and she carefully laid the burlap across the cardboard. Previously, she had collaged the head and upper body with magazine clippings on heavy drawing paper. She cut this out as a solid piece and used it to trace around onto the burlap. She then began to place and arrange the leaves, twigs, and pine needles for the background.
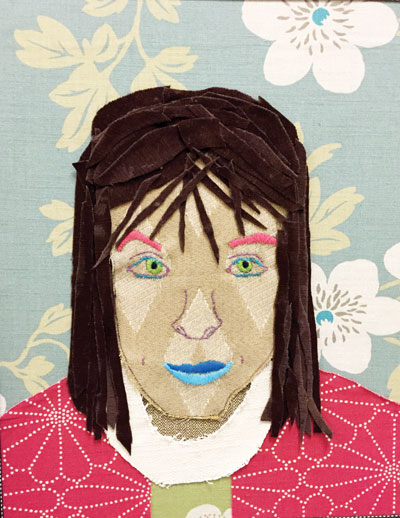
Another student couldn’t decide on an approach for her portrait. I asked her what she wanted to do when she grew up. She said that she would love to be an interior designer. I immediately remembered a container full of fabric samples that had been donated by a local design firm and asked her to use her knowledge of color theory to select samples that would give her work balance and unity. She then transferred her drawing to the selected fabric and cut it to fit. She used embroidery to create the features of her face.
 |
 |
 |
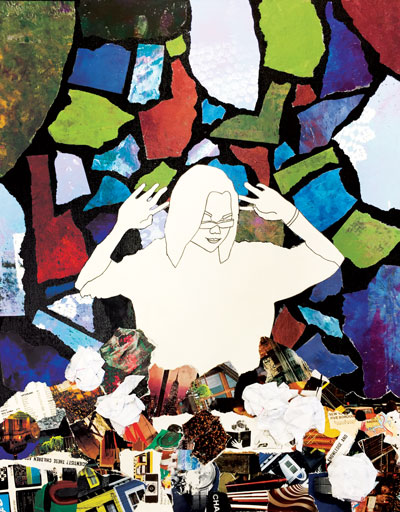
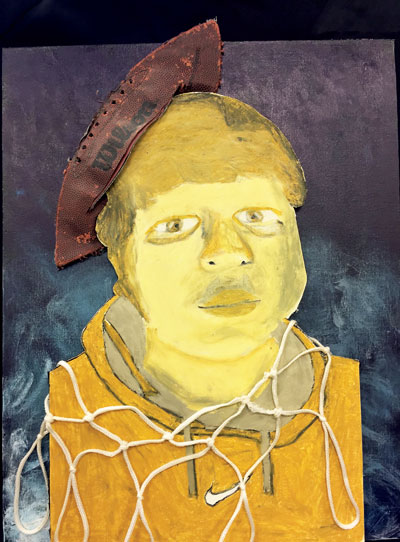
| Top: Christian G., The Trophy. Middle: Tay H., Can You See Them?, charcoal on cardboard. Bottom: Parker S., The Fabric of My Life. |
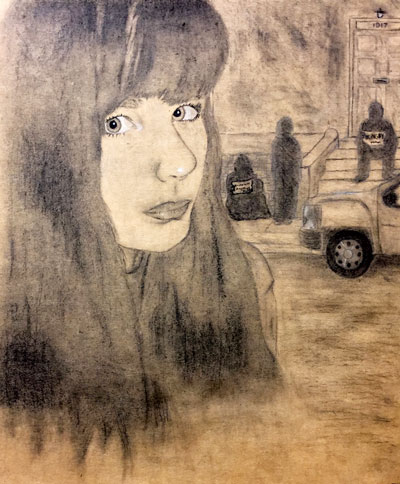
Another student chose a piece of corrugated cardboard for her portrait. Before she began, I asked her how she identified with the cardboard. She said that she thinks about packages that arrive through the mail. I asked her where she sees this same type of cardboard used in a sad way in her community. She immediately thought of homeless people holding signs on street corners. I asked her how that could be expressed in her portrait to make a statement about homelessness. Her finished work depicts a close-up of the serious student with a homeless shelter in the background.
Creating prompts that help students find a personal voice and allowing them the freedom to choose the media based on that personal voice creates an atmosphere that is both creative and expressive.
Conclusion
Drawing an accurate self-portrait using a grid and then freely expressing it by choosing the approach, surface, and medium creates a unique problemsolving experience for the student. It also produces a gallery of self-portraits that celebrate the personal narrative as uniquely and diversely as the students who made them.
Melody Weintraub is a freelance artist and middle-school art teacher at Briarcrest Christian School in Eads, Tennessee. melodyweintraub@gmail.com
NATIONAL STANDARD
Connecting: Relating artistic ideas and work with personal meaning and external context.
WEB LINK
Author Website: melodyweintraub.com
View this article in the digital edition.