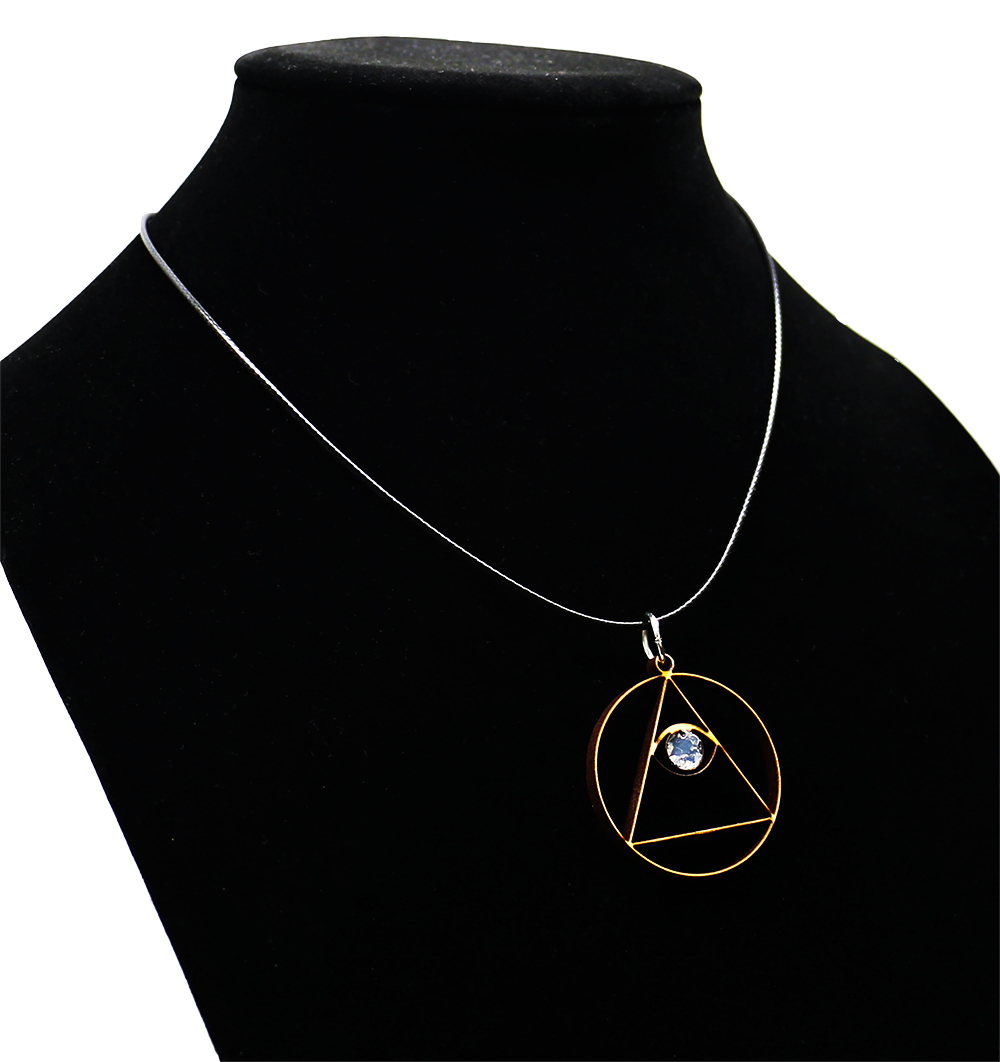
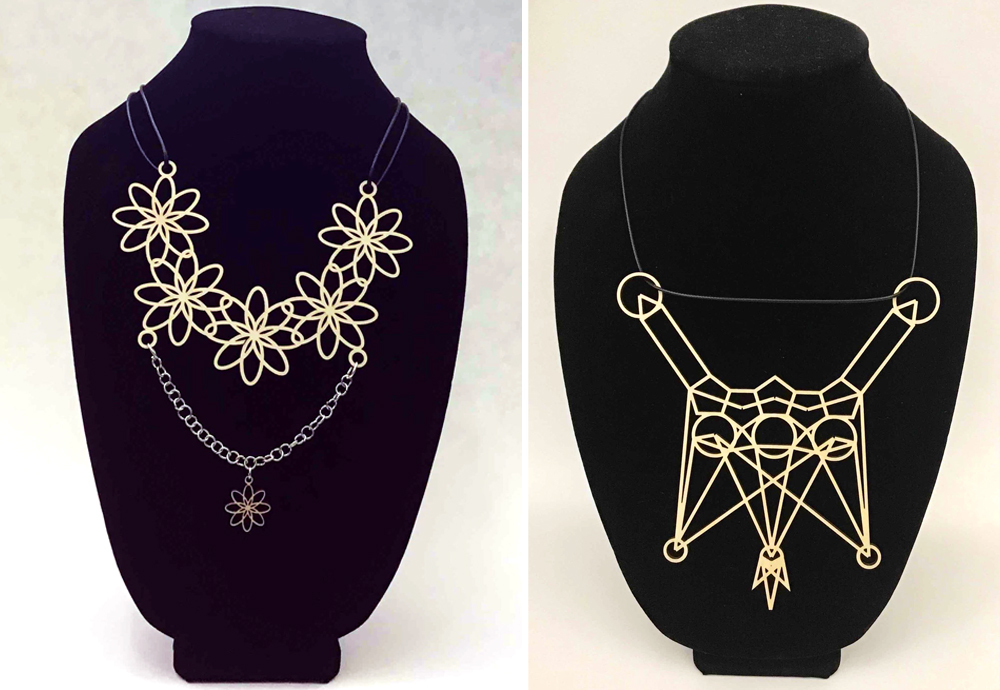
What happens when you combine digital creation with physical manufacturing? You get students who are engaged, ready to see themselves as designers, and excited to try something new! Getting a laser cutter for my classroom was a huge step toward developing opportunities for students to act as designers. Students have made earrings, charms, and necklaces that reflect their interests, are designed as gifts for others, and have been recognized in regional compositions.
Bernard A.Brayson M. Natel.Rosalia F.
I wasn’t sure what would happen when I introduced this new tool to my students, but it’s turned out to be something that gives students the opportunity to explore their interests with laser precision and impressive results.
Getting Started
Students are first introduced to the laser cutter during an SEL-focused collaboration at the start of the year and again in their third skill-builder choice set. These activities allow students to learn and understand the various digital options available to them for creating SVG files (scalable vector graphics) that can then be engraved or cut with the laser cutter. Because they are in collaborative or skill-building settings, students are expected to focus on the process rather than the end result. This low-stakes learning allows students to experiment freely with a tool and concentrate on understanding how it works so that if they use it again, they can delve deeper into the craft.
Designing Wearables
Before we create anything, we use the design thinking process of DICE (Discover, Ideate, Create, Evaluate) as a road map to help keep us focused and on track.
Students use the Discover phase to determine what problem they want to solve, answering key questions before Ideating solutions. After Creating several thumbnail sketches of possible options, students receive an Evaluation that consists of feedback from their peers.
We use the phrasing of “I like, I wish, I wonder” to structure feedback conversations. This helps students to critically examine each other’s work and provide specific feedback on what works and what doesn’t. Once students have completed this work, it’s time for them to create their designs.
Working Digitally
We use two programs to design items for the laser cutter. One is Google Drawings because it’s free and easily accessible, and the other is Cuttle.xyz, which also has a free option as well as tutorials and starting points for designs.
Once students have committed to a design based on their Ideate planning, it’s time to move into the Create phase of the design thinking process. Students are aware that they must save their designs as SVG files in order for the laser cutter to read them.
Students are also aware, as a result of previous work with the skill builder, that the color and thickness of the lines in their SVG file will impact their overall design. As in other STEAM projects, students need to have an “if this, then that” conversation, which often happens in coding. This is a great opportunity to incorporate other subjects and familiarizes students with the deeper level of learning that occurs during the design process.
To keep student files organized, I have a shared Google folder that contains folders for each of my classes. Students save their files with their name and class hour.
Laser Cutting
Once files have been shared in the Google folder, I download them onto our classroom computer and use my account on the manufacturer’s website to upload, size, and place them and select the type of material.
This is something you could have students do. For my classroom, I find it works best for me to load the designs along with my students. You will want to make sure to follow the safety guidelines for the specific make and model of your equipment.
As soon as materials are loaded into the machine and selected on the computer, you can press print and see how long it will take, which depends on the design. Most of the items my students have created have taken less than two minutes.
When the print is ready, students can finish the piece however they like and attach pieces to make the work wearable. Many students opt to use water-based paint markers or leave the material as is. We finish the design thinking process by Evaluating the work and talking about what students learned throughout the process.
Wearing the Work
The best part of this process is when students who have created work for others see them wearing it with joy. It’s equally rewarding to see students take pride in wearing their own laser-cut pieces.
Students have entered their work into competitions and won a variety of awards. Being able to offer them this opportunity is one I am thankful for, and I get excited to see what laser-cut designs they will create next.
Janine Campbell is an art teacher at Byron Center West Middle School in Byron Center, Michigan. JCampbell@bcpsk12.net
National Standard
Producing: Develop and refine artistic techniques and work for presentation.
Art teachers support their students in recognizing and understanding the part that design plays in their everyday lives. Students express emotions through physical drawings of robots with digital symbolism, create visually impactful infographics inspired by real or imagined travels, develop real-world skills by collaborating with clients on design-related projects, and more.
