Our field does a wonderful job of preparing us to teach art, but because design is relatively new to our profession, there is considerable uncertainty about how it should be taught. As a champion of teaching design, I have developed a course for preservice and undergraduate students. The following overview of the course objectives will provide teachers with some direction on how to get started.
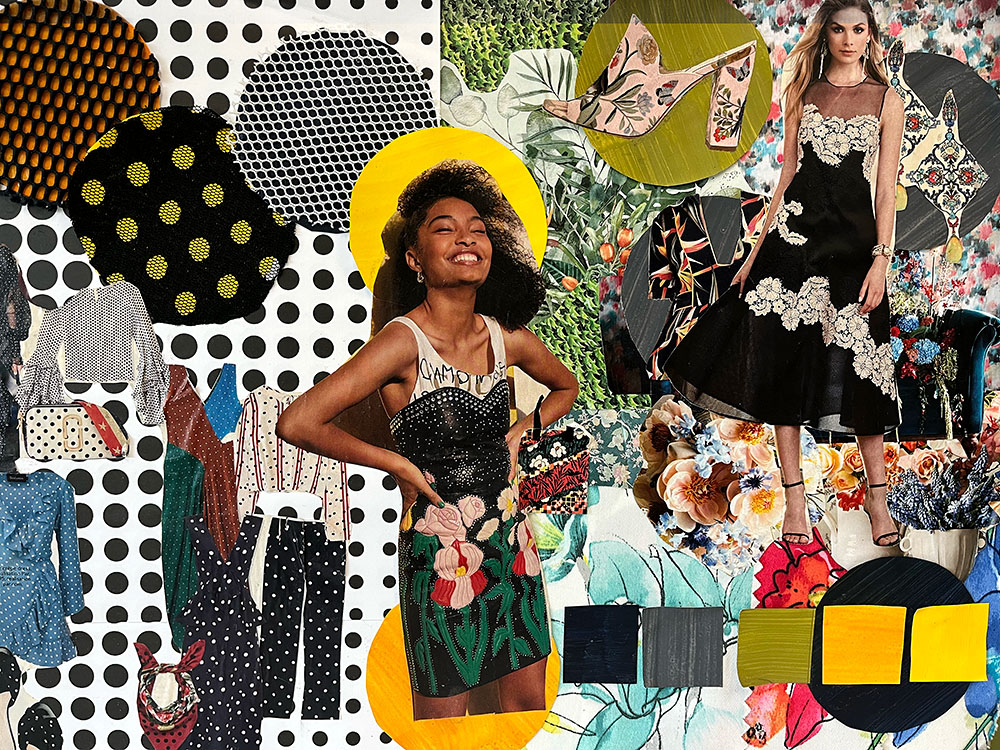
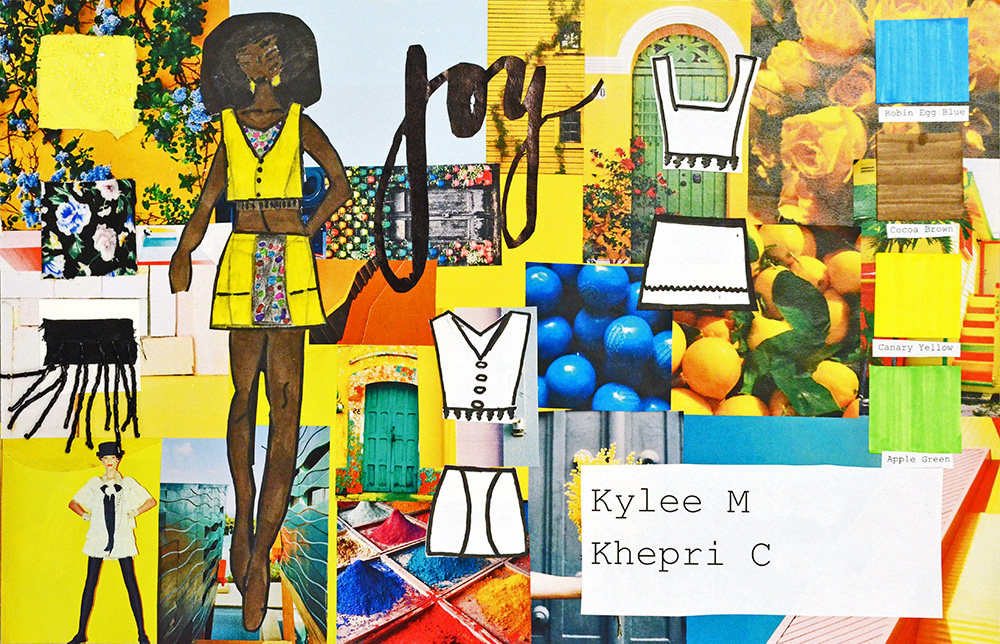
Teacher example of a fashion mood board. For other projects, students have also made boards for interior design, architecture, playspaces, and product design.Kylee M. and Khepri C., Joy Mood Board Project, high-school level. Kent State Summer Fashion Academy.
According to the National Visual Arts Standards (2014), educators should understand how to teach both art and design education. The National Art Education Association website defines these design categories as “architectural, environmental, and industrial arts such as urban, interior, product, and landscape design.”
Our field does a wonderful job of preparing us to teach art, but because design is relatively new to our profession, there is considerable uncertainty about how it should be taught. As a champion of teaching design, I have developed a course for preservice and graduate students. The following overview of the course objectives will provide teachers with some direction on how to get started.
Design Teaching Benefits
Design outcomes directly shape human experiences (think of the comfort level of the chair you are sitting on), add efficiency and orderliness to life (think of clothing and shoe racks), bridge art and science (think of the style and function of a car), and allow us to display our values and identity (think of the clothes you wear to various events). Design has a utilitarian function to serve, but the aesthetic aspect of design is equally important.
Design teaching/learning is a creative and collaborative project-based approach that promotes social responsibility and supports entrepreneurial skills. This approach:
involves the design process and analytical thinking,
focuses on real-world challenges,
fosters creative thinking and decision-making,
integrates interdisciplinary strategies,
uses makerspaces and current technologies and materials,
engages teamwork that promotes good communication skills, and
strives to improve life.
The Design Process
Teaching design starts with the design process—a human-centered method that may be applied to solving problems in many areas of life.
First, group students into teams of three or four. When students collaborate, they bring their varied perspectives, experiences, and tools, which leads to the exchange of unique ideas and typically results in more creative problem-solving and innovative solutions. Each team member shares the responsibilities and contributes to each step of the process.
Second, each team identifies an area in need of improvement, then works through the design process to find a feasible solution. Students may look at subjects that are more familiar to them for a design challenge, or they could think more broadly, addressing issues in the community, state, country, or world.
Video Analysis
After watching the video, answer the following question: What did you observe the students doing in the video?
Watch the video a third time. This time, stop the video after each step in the design process and write what the teacher needed to do to help students complete the following steps:
Step 1: Define the Challenge
Step 2: Research
Step 3: Brainstorming
Step 4: Prototyping
Step 5: Presentation
Step 6: Feedback and Revision
In the video, the teacher decided on the challenge and created the resources. An alternative approach is to let the students decide what challenge they want to address. The students define the challenge, find the research that fits their challenge, brainstorm, create a prototype, present their solution, and make revisions based on feedback.
Presenting Ideas
In step five of the design process, students present their ideas. One way to do this is by creating a mood board, also known as an inspiration board, which can help students gather ideas and inspiration for a project. It is a collection of images, textures, and color palettes with a few descriptive words.
In this case, students’ presentation should include the challenge and how it was defined, what they researched, the brainstorming map, the prototype, and an explanation of why this is the best solution.
The mood board may be digital or in conventional poster form. If you choose the latter, you will need 12 x 18" (30 x 46 cm) poster board, images for collaging, glue, and scissors.
As an alternative to doing a design challenge presentation, students could create mood boards that show their ideas on a theme. Here is an example for a fashion mood board:
Pick a theme (e.g., romantic, adventurous, holiday).
Pick a palette (e.g., earth tones, pastels).
Pick an inspiration (e.g., peacocks, movies, costumes).
By learning through designed objects they use in their daily lives, students are able to understand concepts and create meaning about the critical importance, influence, and social implications of specific items. Design is basically the study of improving life.
Robin Vande Zande is professor and coordinator of art education at Kent State University, Ohio and co-author ofFashion Fundamentals, available from Davis Publications. RVandeZa@Kent.edu
Art teachers support their students in recognizing and understanding the part that design plays in their everyday lives. Students express emotions through physical drawings of robots with digital symbolism, create visually impactful infographics inspired by real or imagined travels, develop real-world skills by collaborating with clients on design-related projects, and more.