The notion that an isometric illustration can be created using basic shapes and a straightforward process made the idea of engineering a project for my entry-level computer graphics students very appealing. After four years of experimentation, I curated a project chock-full of important skills every beginning design student should know. An isometric project is my preferred way to segue students from previous projects that focused primarily on flat shapes, flat value, and color systems to create the illusion of form on a 2D surface.
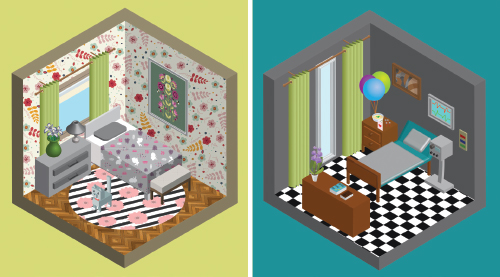
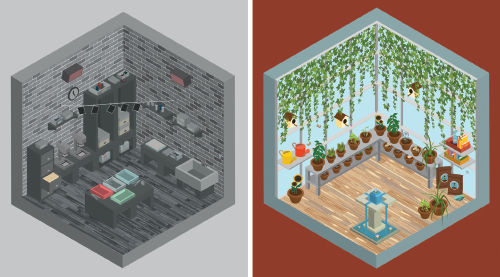
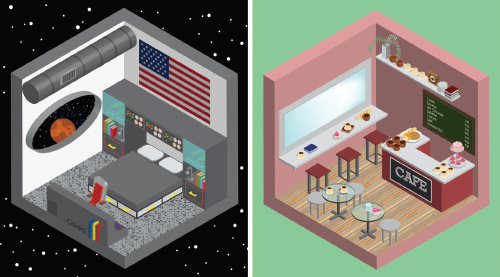
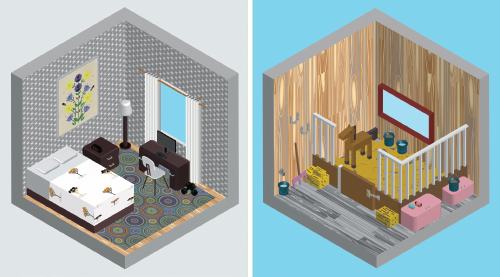
Left: Emma W. Right: Samantha P.Left: Lauren L. Right: Josefina F.Left: Jackson P. Right: Abigail S.Left: Charles G. Right: Christina H.
I’m not quite sure when I became enamored with isometric artwork. I think it was somewhere between discovering the work Ken Wong created for the video game Monument Valley and the isometric illustration on the back of the box of my husband’s favorite cereal. The notion that an isometric illustration can be created using basic shapes and a straightforward process made the idea of engineering a project for my entry-level computer graphics students very appealing. After four years of experimentation, I curated a project chock-full of important skills every beginning design student should know:
How isometrics are created and utilized in the real world.
Selecting the correct design program based on a particular challenge.
Understanding the complexities of how the human brain sees.
How to mentally deconstruct an object in order to illustrate it.
Before I get to my project, it might be useful to know a little about isometric design and its celebrity-like status among professional illustrators and designers, as well as the benefits of using Adobe Illustrator to create isometric imagery.
Flat Design
Flat design is still a beloved and primarily vector-based illustration style, but it has its drawbacks. First, flat design is sometimes insufficient when attempting to display complex visual information. Second, flat design occasionally isn’t as ergonomic as an isometric illustration. For example, when icons have depth, they look embossed or raised, which can help users to know exactly where to tap or click. Lastly, flat design can sometimes limit an artist’s visual options. Isometric design retains flat design’s simplicity but adds depth and dimension.
Isometric Drawings
Isometric drawings are similar to one-point perspective in that they both use geometry and mathematics to create 3D representations on 2D surfaces. However, isometric drawings use parallel projection, which allows objects to remain the same size no matter how far away they are.
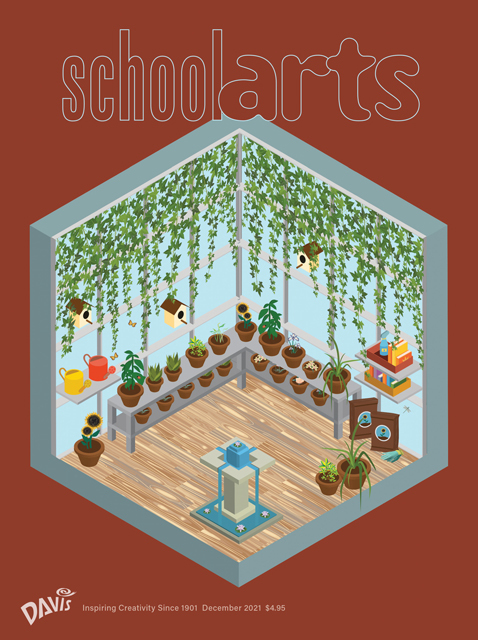
An isometric project is my preferred way to segue students from previous projects that focused primarily on flat shapes, flat value, and color systems to creating the illusion of form on a 2D surface. The mission of the project is to have students create an isometric interior based on imagination or reality.
Illustrator is the perfect vehicle for this application because it’s a vector-based program that allows users to create and manipulate digital images through commands, both geometric and mathematical. The result is a different type of design creation from a drawing that is made with clicks and strokes as in a bitmap program like Photoshop. But it’s important for students to experience both in developing their design solution skills and to know when to use each individually or both programs in tandem. Ultimately, Illustrator is best for clean, graphical illustrations while Photoshop is better for photo-based artwork.
Research
Before they draw the interior, students brainstorm by hitting the internet for inspiration. I found it extremely beneficial after years of trial and error to have them transfer an isometric inspiration sample into the area outside of their artboard in Illustrator. The sample is used as a jumping-off point and a refocusing tool if students get off track while working.
Creating an Isometric Grid
Students begin the construction of their interiors by creating a 30° isometric grid. Students will primarily use one of three basic techniques for this project and the grid may initially seem superfluous. However, it becomes a valuable tool if students implement commands incorrectly and need to reference the grid to make corrections, or if a student wants to use the pen tool to custom-draw an isometric feature.
After the grid is complete and locked, I give instructions on how to create the room’s foundation. It’s important that this is 100% correct because they will be using this for scale and proportion to maintain visual accuracy of their 3D 30° objects within the space.
Criteria
Students are reminded of the must-haves: one pattern treatment, at least two wall accents, three pieces of furniture, and two objects of interest. Come grading time, I’m flexible with the definition of what comprises wall accents, furniture, and objects of interest depending on the type of interior.
Techniques
From here, it’s all up to students to make what they need for their room using three basic techniques: Effect > 3D > Extrude and Bevel > Isometric Left, Right, Top, Bottom; Effect > 3D > Revolve > Isometric Left, Right, Top, Bottom; and the SSR technique, in which they use the scale, shear, and rotate options. In addition, students must have a solid foundation using the pathfinder palette, align palette, expand options, grouping, clipping mask, transform, and arrange options.
This project usually takes three weeks, during which I’m very engaged with each student and their ideas. Students generally have issues with complex constructions, over and under decisions, scale, and placements. It’s a lot for a beginning student to process, but the results are well worth it.
Kasmira Mohanty is an art teacher at Huntington High School in Huntington, New York. KasmiraMohanty@gmail.com
National Standard
Producing: Develop and refine artistic techniques and work for presentation.
Art teachers spark students’ imagination with several approaches to design and introduce them to design-related careers. Young students recycle vinyl records into functional embellished sculptures, elementary students capture the elements of art and principles of design through digital photography, middle-school students master linear perspective drawing and create design boards for a celebrity or fictional character, high-school students design isometric digital rooms with depth and dimension, and more.